Saturday, May 23, 2015

Fermentation Tests : Glucose, Lactose, Sucrose, and Mannitol {Lab 7 - May 20, 2015}

     These tests were conducted so that we could determine the ability of our bacteria to ferment a particular carbohydrate. The carbohydrates that we tested for included: glucose, lactose, sucrose, and mannitol. Discovering a bacteria's set of disaccharide-digesting enzymes contributes to its unique molecular "fingerprints" enabling us to get closer to discovering the identity of our unknown!


Glucose Test

     We inoculated the glucose test tube with our bacteria using aseptic techniques and incubated it. When we checked it, the results were: 


  • positive glucose             
  • positive gas
  • positive acid


Lactose Test

     We inoculated the lactose test tube with our bacteria using the aseptic technique and incubated it. After incubation, we checked it. The results were:


  • positive lactose 
  • positive gas
  • positive acid


Sucrose Test

     We inoculated the sucrose test tube with our bacteria, again using the aseptic techniques and incubated it, after which we analyzed the results which were:

  • Negative sucrose test


Mannitol Test

     We inoculated the mannitol test tube using aseptic techniques with our bacteria. After inoculation, we analyzed the results which were:

  • positive mannitol 
  • positive gas
  • positive growth
  • no color change


Lipid, Casein, and Starch Tests {Lab 7 - May 20, 2015}

     These tests told us what our bacteria could eat. If the bacteria gave positive results to these tests, then we would know that it could a) hydrolyze or digest a triglyceride, a type of lipid; b) hydrolyze casein, the major protein in milk; and c)hydrolyze starch.

Lipid Test

     For this test we used a blue spirit agar plate to test for the ability of our bacteria to digest triglycerides. After inoculating the blue spirit agar with our bacteria, we incubated it. When we checked on it after the incubation period, we found that our sample had a negative result for the lipid test.

Our bacteria (on right)
- Negative


Casein Test

      With this test, we were able to tell whether our bacteria could digest the major protein in milk, casein. We inoculated a skim  milk agar plate with our bacteria and incubated it for the appropriate time. Afterwards, we observed the results: our bacteria was unable to digest casein. 


Starch Test

     With the starch test, we were able to determine our bacteria's ability to hydrolyze starch. Using a starch agar plate, we inoculated our bacteria on it and incubated for the appropriate time, after which we filled the petri dish with Gram's iodine. Iodine reacts with starch to produce a purple color. So if our bacteria had digested the starch, there would have been a clear area around the streak line of the bacteria. However, after observing it, we realized our bacteria had a negative result for starch hydrolysis. 

Our bacteria (on right)
- Negative


Oxygen Requirements {Lab 7 - May 20, 2015}


      As you may guess from the title, the next set of experiments Clare and I ran were to discover if our bacterium used oxygen or not. There were four tests we used: an anaerobic chamber and Thioglycolate, Catalase, and oxidase test.

Materials:
·       inoculating loop
·       Bunsen burner
·       ager plate and slant
·       filter paper
·       oxidase reagent
·       3% H₂O₂
·       Anaerobic chamber

Procedure:
     First we had to prepare fresh samples of our unknown for the test. Using our aseptic techniques we inoculated an agar slant for our oxidase test and stored it in the 37⁰ incubator. Next, we inoculated an agar plate with a pure culture from our unknown for the catalase testing, also storing the sample in the 37⁰ incubator. After that, we need to inoculate a tube of Thioglycolate with our unknown and store it with the other samples. The last preparation needed was to inoculate an agar plate for the anaerobic chamber. 

     After 24 hours, we could finish the tests to see what the oxygen requirements for our unknown were. If the unknown didn’t use oxygen at all, it would be an Obligate Anaerobic, but if it needed oxygen, it would be Obligate Aerobic. However, these are not the only two options. If the bacteria grows better with oxygen but can grow in anaerobic conditions as well then it is a Facultative Anaerobe. 
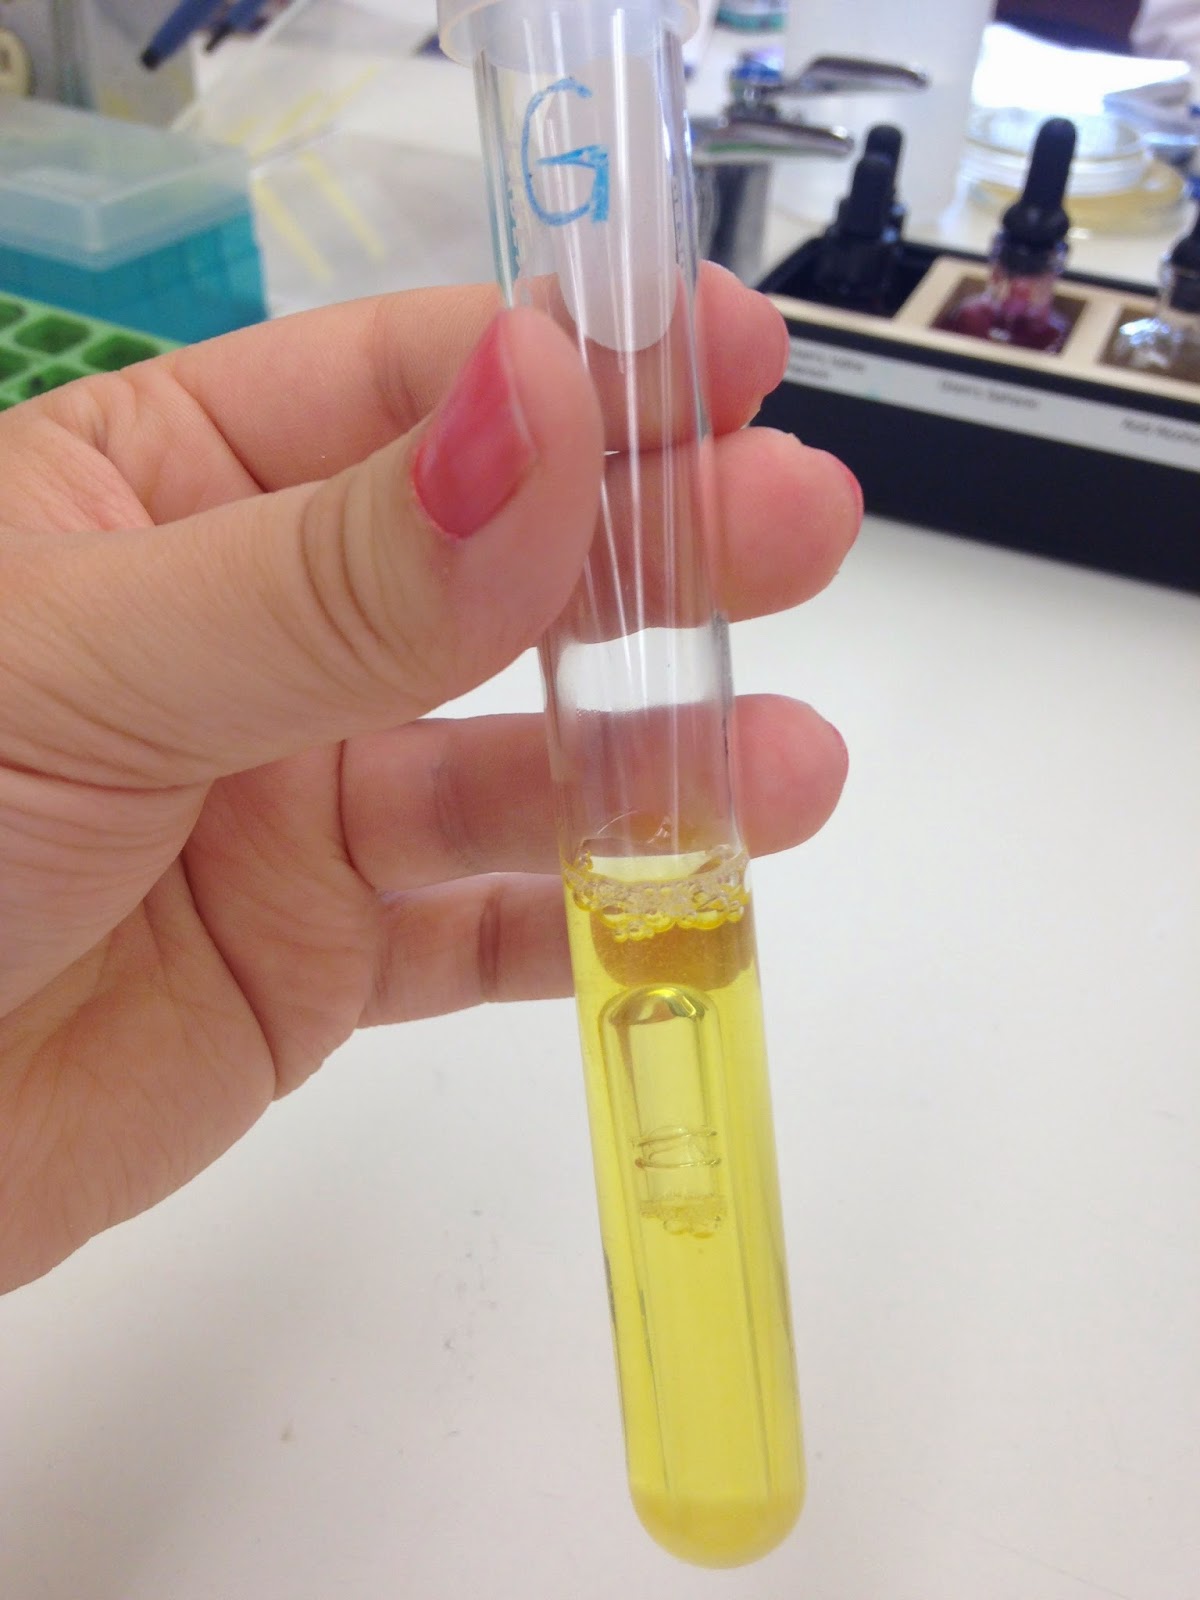
The next day we looked at our Thioglycolate. The Thioglycolate is a gel that helps us see clearly were the bacteria grow, near the oxygen or not. Our unknown was growing on the top and was stretched down a little in to the tube. This would indicate that our unknown is a Facultative Anaerobe. 

Facultative Anaerobe Growth


      Turning to the Anaerobic chamber, we looked for data to support this. The Anaerobic chamber is used to create an environment with no oxygen. We did this by placing GasPak envelopes that react with the oxygen to form water. An indicator strip was also placed inside so that the oxygen level could be known (blue with oxygen, white without). The class put in our samples and screwed the clamp on. However, the next day, the indicator was still blue signaling that there was still oxygen left inside. Even so, Clare and I could still make some observations. Our culture had some growth an environment that had oxygen that was being taken out somewhat. This could also be an indicator that our bacterium is a Facultative Anaerobe.
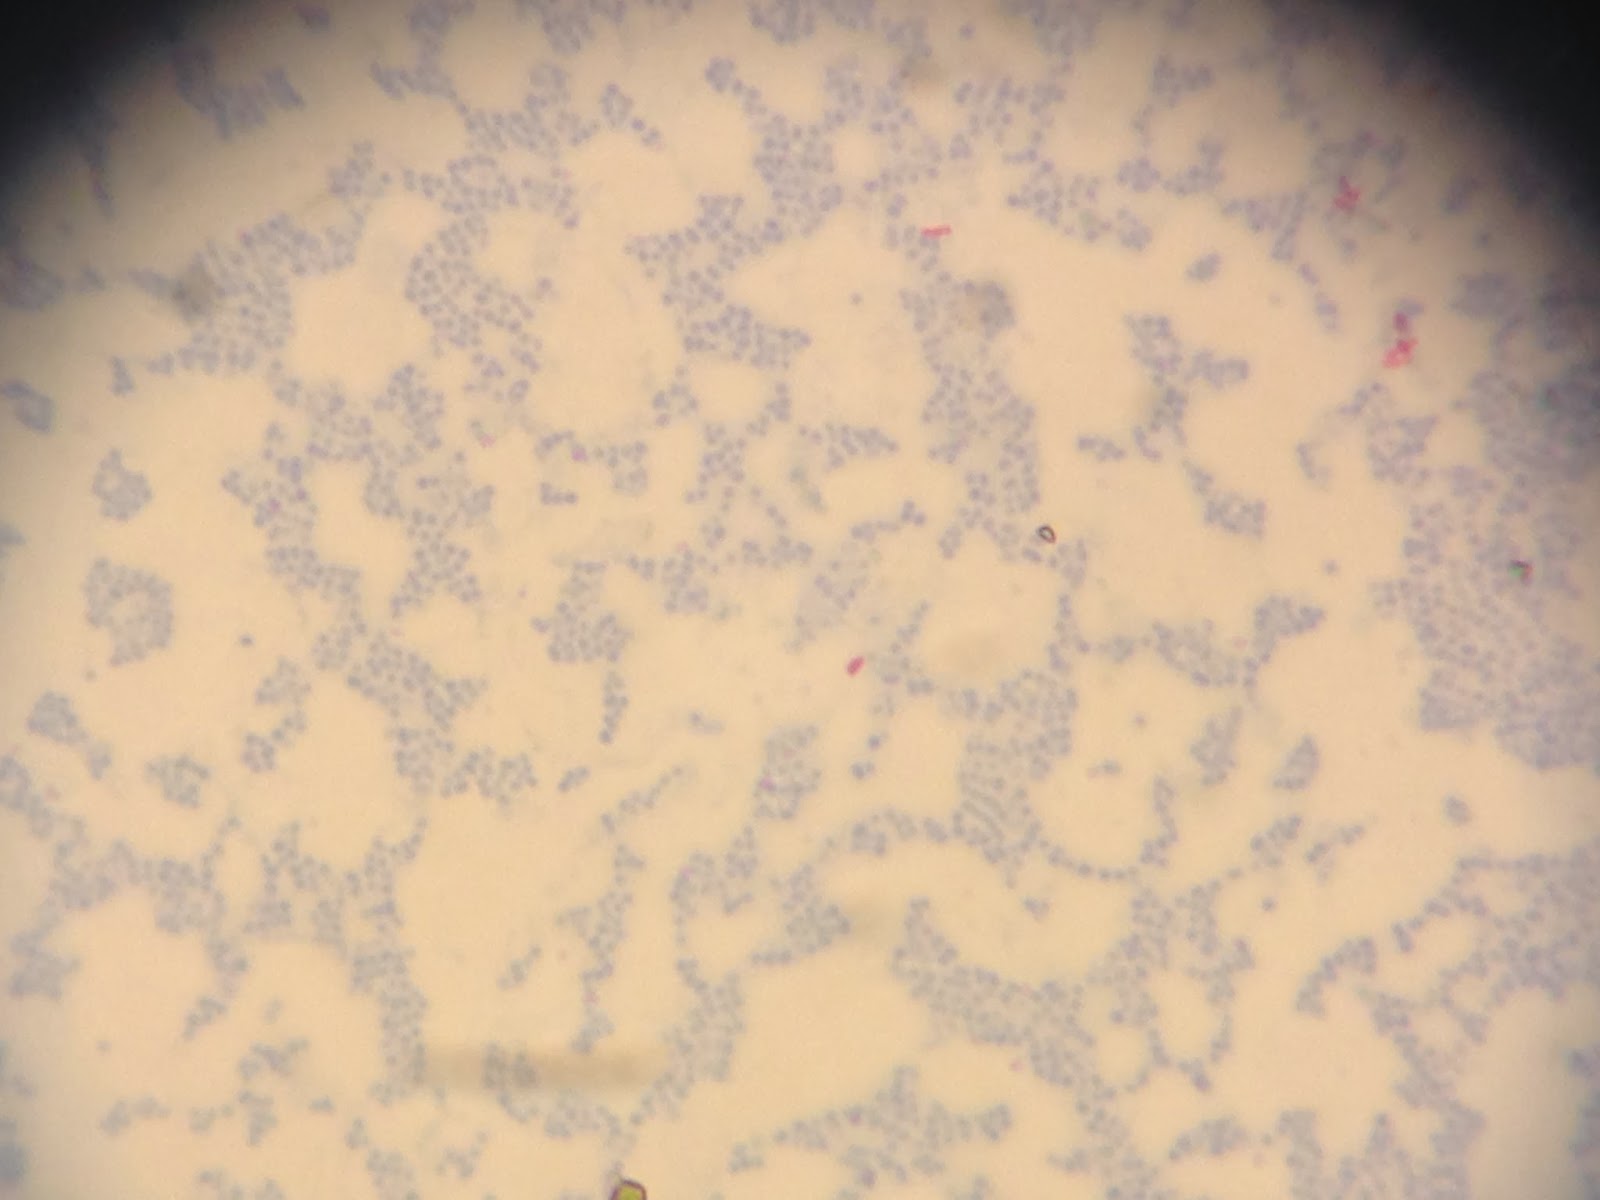
Our Unknown Bacteria -
from anaerobic chamber 
The Catalase test was next. Taking the Agar plate with a fresh pure culture of our bacterium we poured H₂O₂ on it. An organism that uses Aerobic respiration like ourselves has the ability of producing H₂O₂ which is harmful. So we have an enzyme, Catalase to break the H₂O₂ down. If our unknown is indeed a Facultative Anaerobe, it will have Catalase, and we will see bubbling when we pour the H₂O₂ on it. And yes, we did observe bubbles indicating the presence of Catalase.

Bubbling indicating catalase

The only thing left was the Oxidase test. Cytochrome oxidase is an enzyme used in electron transport during respiration.  For this test, we wetted a piece of filter paper with oxidase reagent that will turn blue when our unknown is added if it has Oxidase. However, it did not turn blue when we place bacterium from our fresh sample from the agar slant onto the reagent. 


Conclusion/application:
     Now we know our unknown is a Facultative Anaerobe, meaning it grows with oxygen and will grown somewhat without. Also, it does not use oxidase in its Aerobic respiration, but it does have Catalase. Knowing whether a bacteria is aerobic or anaerobic will determine the plan of action that a doctor will take against the bacteria. For example, propionibacteria that causes acne is an obligate anaerobe. So some treatments include putting the patient in an oxygen rich environment to kill the bacteria.

Movie : Outbreak {May 20, 2015}

     Today, we finished the movie Outbreak. In this movie, a dangerous airborne virus that had been supposedly destroyed years earlier when it first appeared in Zaire has returned, randomly killing people and threatening many more. The central figures of the film are a contagious disease expert and his ex-wife who must work together to discover how the virus is spreading, how to cure those who are ill, and most importantly, who the carrier is. 


Outbreak, the movie 
      This movie gave our class the opportunity to visualize how viruses are spread. In the film, the virus called motaba spread from an African monkey which had been smuggled into America. The monkey managed to spread the virus to the smuggler, who in turn infected an entire movie theater. The reason the virus was able to spread so rapidly and uncontrollably was due to the fact that the original virus motaba had mutated and had become an airborne pathogen. 

Motaba virus from Outbreak (In actuality, it is the ebola virus)

Friday, May 22, 2015

Acid-Fast Staining {Lab 6 - May 19, 2015}

     Today the stain we used was an acid-fast stain on our unknown and a sample of TB for comparison. This time Clare and I both prepared each sample.

Materials: 
Our unknown being stained
methylene blue
  • slide 
  • inoculating loop
  • Bunsen burner 
  • forceps 
  • boiling beaker
  • staining rack
  • Ziehl-Neelsen carbolfuchsin 
  • de-coloring acid-alcohol
  • DI water
  • methylene blue
  • Bibulous paper


Procedure:  
     As usual with staining, the first thing we had to do was to fix a smear of our samples. However, today we tried something new to make the process faster: we fixed both samples on the same slide. After the smears were fixed, the first part of the process was to place the slides on a staining rack over steaming water. Covering them with the bibulous paper, we proceeded to cover the paper with Ziechl-Neelsen carbolfuchsin. For the next 3-5 minutes we continued to keep the paper wet as the water steamed up under the slides. When it was time, we rinsed the Ziechl-Neelsen carbolfunchsin with DI water. Following this stain, the decolorizing acid-alcohol was used to further wash off the stain. Next up was the methylene blue. This one needed to sit for 2 minutes before being washed off. When this was done, the slide was blotted dry with the Bibulous paper and the slides were ready for the microscope.


Tuberculosis Acid-Fast Stain 
Results: 
Negative Acid-Fast Stain of our Unknown
     The TB was used as a control to see what a positive result for an acid-fast stain would be. Both Clare and I observed two colors red and blue mix together on the TB acid-fast stain. Now that we knew what to look for, we examined our unknown. The unknown was stained only a blue color; therefore, we can conclude that our unknown is a non-acid-fast in its lipid content of its cell wall.The acid-fast stain is a laboratory test that determines if a sample of tissue, blood, or other body substance is infected with the bacteria that causes tuberculosis and other illnesses.

Endospore and Capsule Staining { Lab 5 - May 18, 2015}

     Today, we tested for endospores and capsules in our bacteria using the endospore and capsule staining methods.

Capsule Stain

Materials:
  • microscope slide
  • nigrosin stain
  • safranin or crystal violet
  • DI water
  • inoculating loop
  • Bunsen burner
Procedure:
     First, we had to place a small drop of nigrosin stain onto the slide and inoculate our bacterial samples into the drop. Once they had been thoroughly mixed together, a second slide's short edge was placed at a 45 degree angle in the bacteria-nigrosin drop. The second slide was then drawn across the length of the first slide, thereby, adequately spreading out the drop. We allowed this to dry.
      Once the spread smear dried, we covered it with crystal violet for approximately thirty seconds then rinsed it with DI water to remove any excess stain. The slide was then blotted with bibulous paper. 


Results:
     The environmental sample (above) definitely had capsules. We were able to observe using the microscope the capsules surrounding the bacteria. Our unknown (below), on the other hand, was un-encapsulated.  


Endospore Staining

Materials:
  • slide with fixed smear of bacteria
  • staining reagents - safranin and malachite green
  • steam from DI boiling water over hotplate 
  • staining rack
  • filter paper
  • DI water
  • bibulous paper
  • forceps
Procedure:
     We began by placing the slide (we did both our unknown and environmental) on a rack over the boiling water. A piece of filter paper was placed on the slide and saturated with malachite green. We let the specimen stain for approximately 5 minutes, adding more malachite green as it evaporated to prevent drying. We removed the slide from the heat, and placed the filter paper in the biohazard bag. The slide then cooled. 
     After the slide cooled, we covered the smear with safranin for 60 - 90 seconds. Afterwards, we rinsed the slide with DI water to remove excess safranin and blotted the slide with bibulous paper. 
     
Results/application:
     Our unknown endospore stain revealed that our bacteria had endospores. Our environmental picture came out blurry, but from what we can tell, it did not have endospores in it. Knowing whether a bacteria has endospores or capsules will determine what method to take to kill the bacteria since capsules and endospores can resist harsh conditions.
      
Unknown sample - endospore stain

Environmental - endospore stain


Motility of our Unknown {Lab 4 - May 15, 2015}

      Today, we tested the motility of our unknown bacteria. Motility simply refers to whether or not bacteria are able to move. We tested for this by placing a sample of our unknown on a hanging-drop slide, which allows a sample to hang in a drop from the slide.

Materials:
  • depression microscope slide
  • coverslip
  • vaseline
  • inoculating loop
  • Bunsen burner
  • bacterial culture in broth
Procedure:
     We placed a drop of our unknown onto the coverslip (which had vaseline put on the sides for adherence to the slide) using aseptic techniques. We then carefully placed the coverslip onto the depression slide, ensuring that the drop of bacterial culture was over the depression so that it could hang from the slide. 

Results:
     Once we had completed making the hanging-drop slide, we looked at our bacteria using the microscope. 

Our bacteria slightly moving

     Our bacteria only slightly moved back and forth, exhibiting no true motility. 

Motility test done with
motility test medium agar
- Nonmotile


Wednesday, May 20, 2015

Transfer of Unknown from Streak Plate to Slant Tube {Lab 2 - May 13, 2015}

     We needed to create a slant sample of our unknown bacterial sample so that we could use it for subsequent tests and experiments. 

Materials:
  • Bunsen Burner
  • Inoculation loop
  • Slant Tube
Procedure:
     We took our streak plate sample and 
transferred the bacteria to the slant tubes using the aseptic technique.

Slant tube with bacteria
sample 
Streak plate with isolated
bacterial colonies


Results/application:
     We correctly transferred the bacteria to the slant tubes resulting in our having two samples, a working sample and a reserve sample. This technique allows bacteria to be grown from small quantities, into making more. When samples are taken from patients, only a small amount will be taken and grown. Transferring and growing on a slant tube allows more bacteria to be grown so that more tests may be done.


Gram Staining, Including Simple Staining Method {Lab 3 - May 14, 2015}

      For this experiment we try our first staining. This means we were coloring our bacteria in order to view them under the microscope. The Gram staining would tell us whether our unknown is gram-positive or gram-negative.  A gram-positive bacteria’s cell membrane is thicker than gram-negative and gram-negative has two layers with lipopolysaccharides on the outermost layer.
Our Stained specimen
Materials:
  • Inoculating loop
  • Bunsen burner
  • Slide
  • Crystal violet
  • Gram’s iodine
  • 95% ethanol
  • Safranin
  • DI water
  • Bibulous paper
  • Staining rack, clamp

Procedure:

      First, we placed a small drop of DI water in the center of a slide. Then using aseptic techniques Clare smeared our unknown onto her slide, and I smeared our environmental sample onto mine. After the water dried on our slides we picked up the slides with our clamps and quickly passed the slides through a flame 3 or 4 times to fix the bacteria on the slide. Then, we place the slides on staining racks across a sink and covered the fixed smear with crystal violet for 20 seconds and rinsed. This first part of the procedure is the simple-staining method.


Simple Stain of Unknown
(above and top left)


Simple Stain of Environmental
(bottom left)


      Next, the slide was covered with the Gram’s iodine for a minute. After that, we decolorized the fixed smear with 95% ethanol by holding the slide at a 45 degree angle and washing the slide with ethanol until the color washed away. After rinsing the ethanol off, the last stain was added, safranin. When it had been remove after a minute and the slide blotted with the bibulous paper the smears where ready for the microscope.


Results/application:
     The environmental was purple in color, which means it is gram-positive. The shape of the bacteria was cocci. The first unknown stain did not come out clear, so we prepared a second gram stain. After viewing this stain we could see it was red, signifying it is gram-negative. The shape of the unknown could be seen as bascille or rod shaped.


     Gram Stain of Environmental - Positive
 (above)


Gram Stain of Unknown - Negative
(left)

     Determining whether a bacteria is gram-postive or negative will determine what kind of treatment or medication to give to a patient.
c